
Moon Zoom Photo & Video Tips
Telephoto and zoom camera owners are always on the lookout for a subject to zoom in on and reveal something that they couldn't have otherwise seen. It turns out that we live on the right planet because the Earth offers benefits for long range photography that other planets don't. One benefit is that there will be a breathable atmosphere during your photo shoot, which is nice. I enjoy breathing when I'm taking pictures. The Earth also provides an amazing view of a nearby celestial object in space which can yield spectacular pictures and video if you have a telephoto lens.
 The Moon as seen from the Earth.
Perhaps you've seen this celestial object? I call it "the Moon". Actually, that's what everyone calls it. Although the Moon is often visible to almost anyone on the Earth, most people hardly take notice of it. And that's unfortunate, because... there's a freaking satellite planet floating right over our heads! If you' stop and think about it - and I'm guessing that you do because you're reading this article - that's pretty amazing!
 A crescent Moon.
OK, so we've got a moon and a zoom camera. Do we need anything else to take a great picture or video of the Moon? Well, yes we do. We need a little guidance on how to use the Moon and a zoom camera to get a great result. I'm not a professional photographer, but I've learned a few things about photographing the Moon with super zoom cameras that I can pass along. In this article, I focus on composing a good shot rather than recommending camera settings.
You can see my tips in action in the video at the end of this article!
Tip #1: You're Gonna to Need a Bigger Zoom
The Moon is really close to the Earth, except that it isn't. Let me explain. The universe is kind of a big place with a lot of empty space, so things tend to be really far away from each other. And I mean really far away! If we lived on Mercury for example, the nearest celestial object would be Venus, which is an average of about 31 million miles (56 million kilometers) away.
The average distance between the Earth and the Moon is about 239,000 miles (385,000 kilometers). Relative to common distances in the universe, the Moon is actually super close to the Earth. But relative to the distance of things that we normally zoom in on when taking pictures on Earth, 239,000 miles is ridiculously far away!
 The Moon at s focal length of 24mm (cropped)
So even though the Moon is huge, if we want it to fill the frame of a picture or video, we're gonna need a camera with a really long lens (that is, a telephoto lens with a high magnification). So don't expect to point your mobile phone at the Moon and get a good picture :)
How much zoom will we need? Well, let's look! The picture below shows the Moon taken at different focal lengths.

We can see in the chart above that the moon is a little blob of light using shorter focal length lenses. Exactly where on the zoom scale the blob of light becomes recognizable as our moon depends on the size of the screen that you're using to view the picture. If you're viewing the picture on a computer screen or a big screen TV, then you can start to see some details of the moon's surface at around 200mm. If you're viewing the picture on a mobile phone then surface details won't start showing up until about 500mm.
Here are pictures of the moon at longer focal lengths:


I think that a focal length between 2000mm and 2400mm is ideal for taking pictures or recording video of the Moon. The Moon will fill up a good portion of the picture frame in this range. The Nikon COOLPIX P950 and P1000 are the only all-in-one cameras that I'm aware of that can zoom to that focal length range. For an Interchangeable Lens Camera (ILC), you could reach 2000mm with an 800mm lens and a 2.5X teleconverter. Of course, if your camera has a sensor with enough pixel density, then you could take a picture with a shorter focal length lens and crop the image in post-production.

A bonus benefit of filling most of the photograph/video frame with the bright light of the moon is that it will be easier for your camera's autoexposure system to find the right exposure. With shorter focal lengths, the Moon is a super bright spot surrounded by black space which can result in a severely overexposed Moon.
Tip #2: Wait for the Moon to Get Close
Just like when you're photographing wildlife, if you are very quiet and stay perfectly still behind your camera, the Moon might come closer so that you can get that perfect shot. OK that's not true, but the Moon's distance from Earth does change over time.
It turns out that the Moon's orbit around our planet is not a perfect circle with Earth in the middle. At its closest distance from the Earth ("perigee"), the Moon is 225,309 miles (362,600 kilometers) away and at its furthest distance from Earth ("apogee") the Moon is 251,904 miles (405,400 kilometers) away. So the Moon looks 12% larger when it's closest to us compared to when it is the furthest away.
Does 12% make a difference when taking photos and recording video? Check out the size comparison below:
 Apogee vs. Perigee size comparison.
Basically, a 12% larger Moon is like switching from an 800mm lens to almost a 900mm lens! So if you want the closet views of the Moon possible then you'll want to schedule your photo shoot for a day that is the closest to perigee and avoid dates near apogee. Now that we have all of the world's knowledge on our phones, you can easily look-up the Moon's next perigee on the moon distance page At TimeAndDate.com. Be sure to type in your location to get the most accurate information.
Tip #3: Say No to The Full Moon
During a Full Moon, the entire side of the moon facing the Earth is brightly lit, so we can see as much of the moon as possible. So my third tip is NOT to take your super zoom moon photos during the Full Moon. Wait, what?
An almost full Moon.
OK, here's my theory behind this tip. When the Moon is full, the source of the light falling on it - the Sun - is almost directly behind Earth, which means that the light is almost directly behind the camera. At that angle, the texture of the Moon's surface is not throwing many shadows so it's harder to make-out the surface details. But when the light source is off to the side, it strikes the Moon's surface at an angle which creates shadows. And it's these shadows that bring out the amazing texture of the Moon's surface.

Light hits the Moon's surface at an angle all of the time except during a full moon (and a new Moon). So I recommend scheduling your photo shoot for a night when more than half of the visible Moon is lit by sunlight but not all of the visible Moon is lit by sunlight. That time period is called the "Gibbous" phase of the Moon and it occurs just before the full Moon (waxing Gibbous) and just after the full Moon (Waning Gibbous). The picture above is an example of a Waning gibbous Moon.
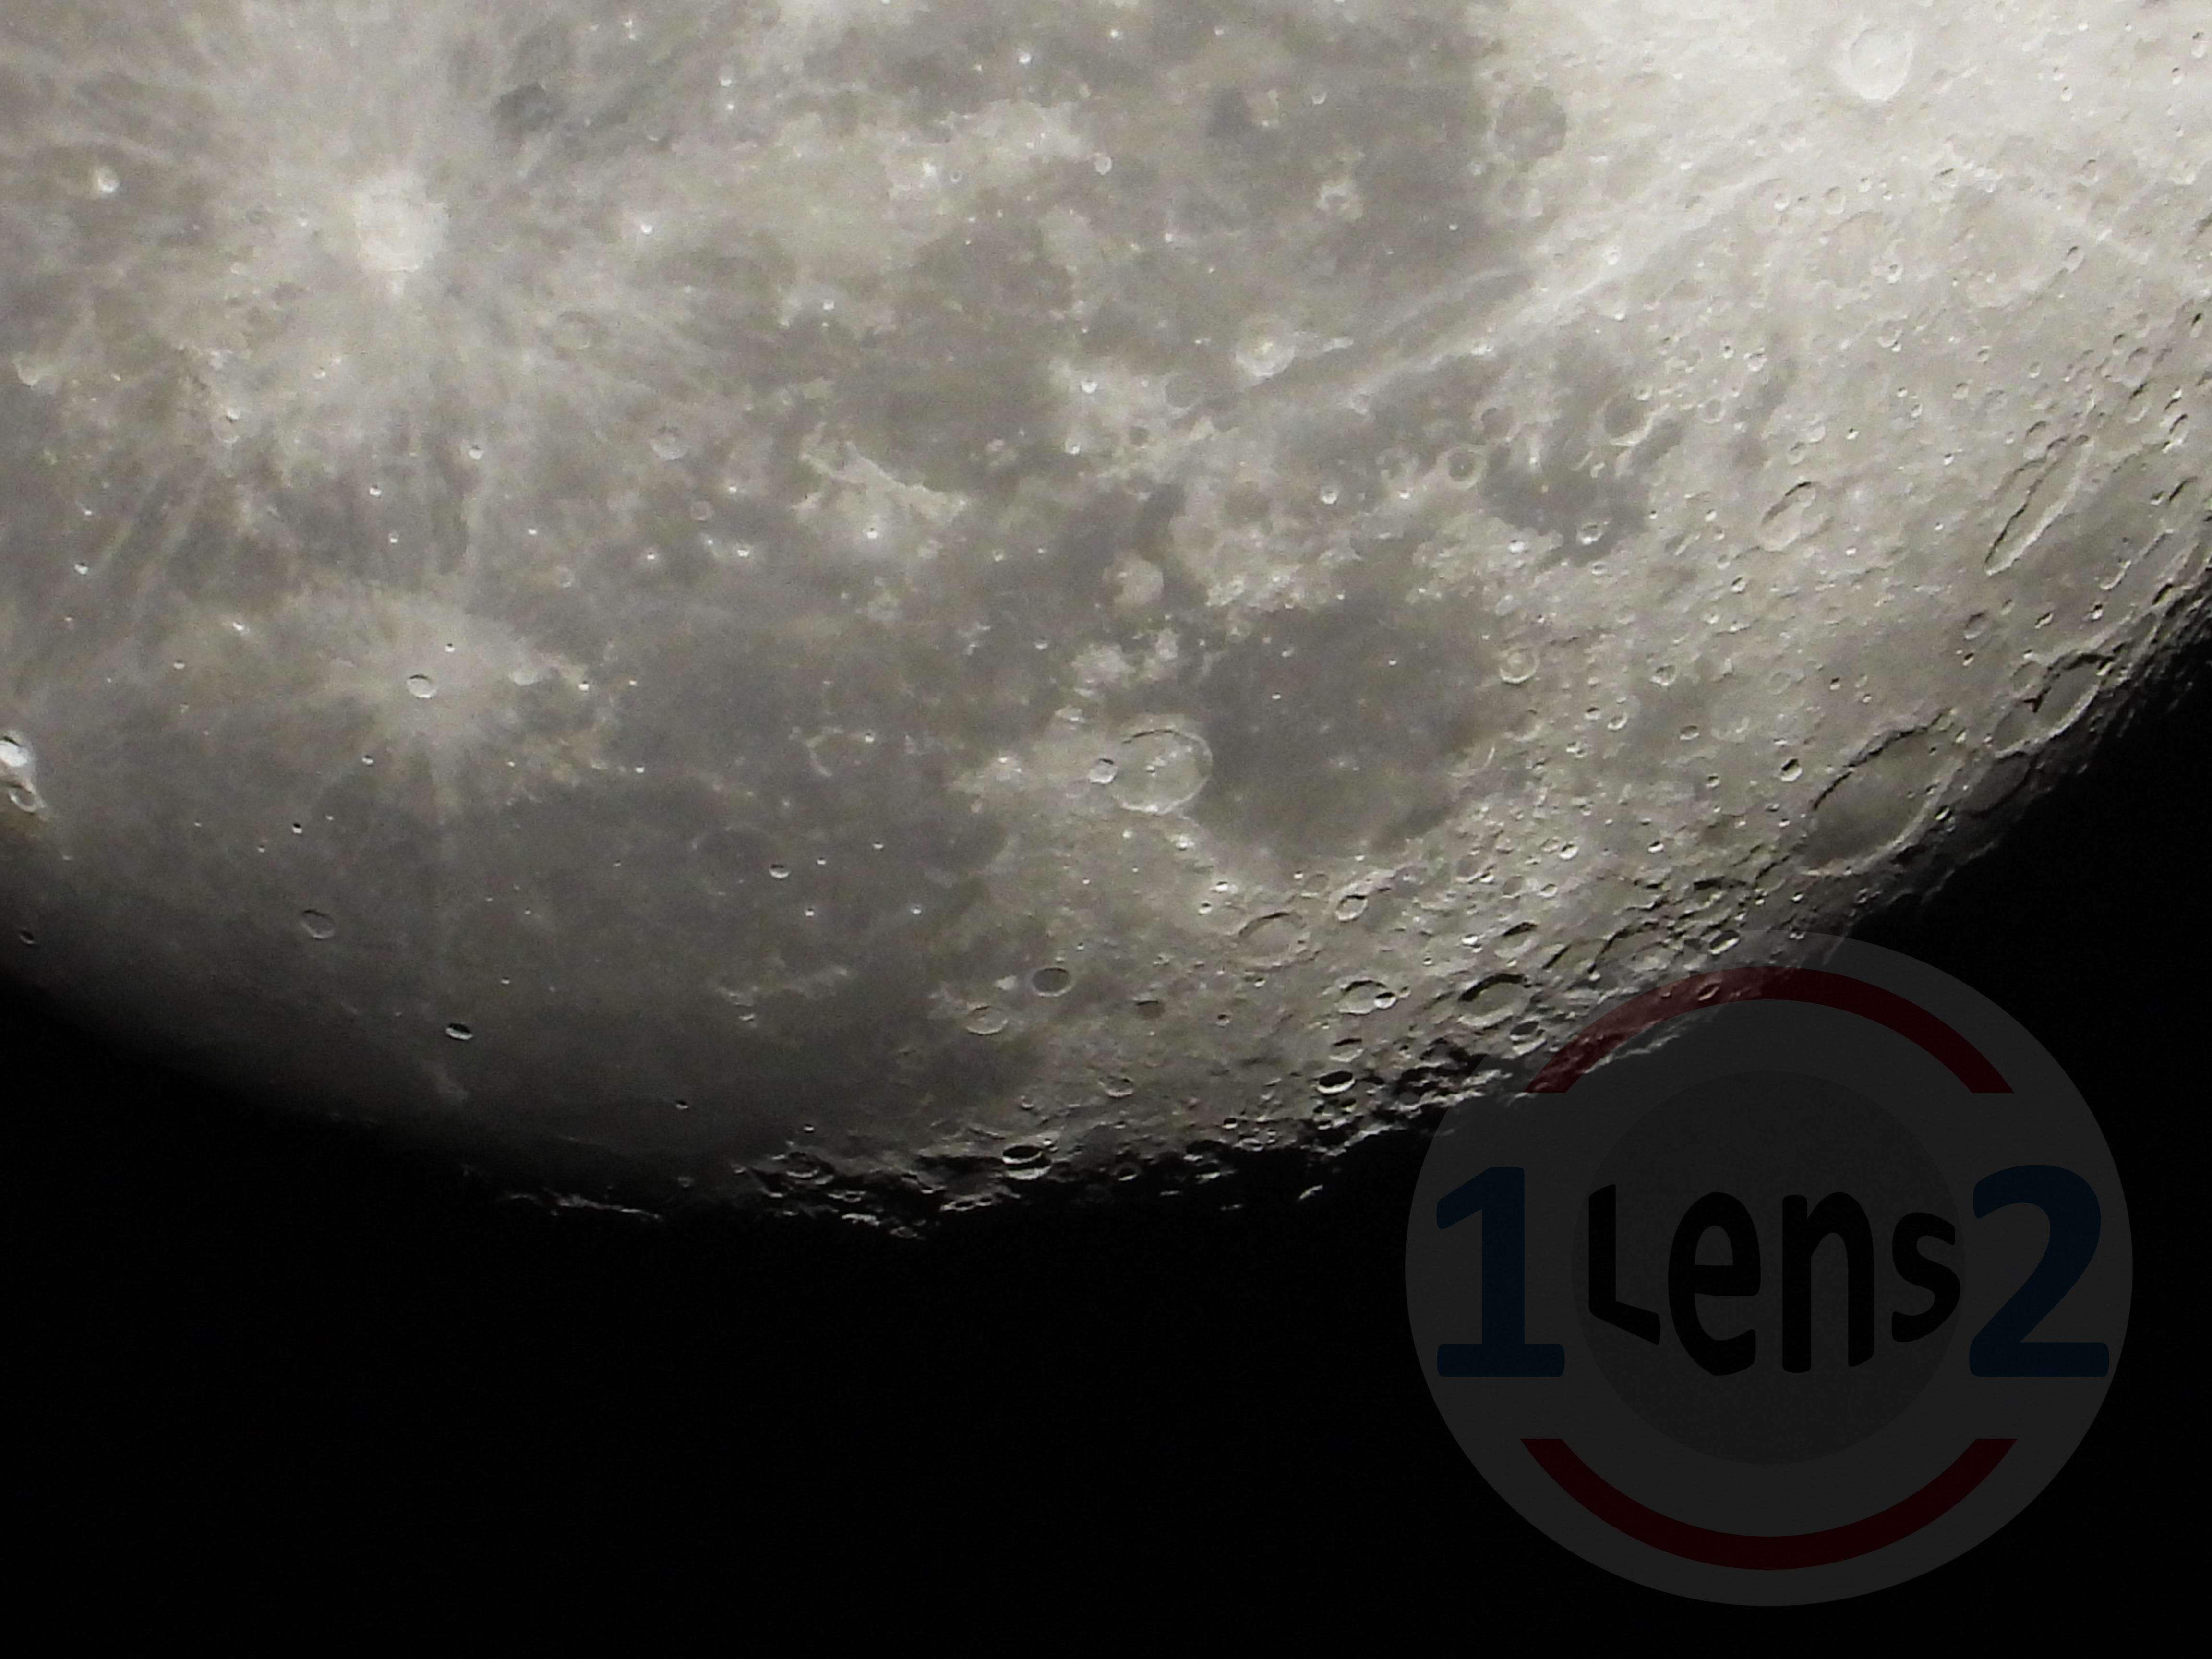
 Surface texture during the Moon's sunset.
The Moon cycles through the same phases over and over again every 29.5 days, so we get a chance to shoot the Gibbous moon about twice a month. You can learn more about the Moon's phases on NASA's Moon in Motion webpage.
Tip #4: The atmosphere Is Not Your Friend
As a human being, I really like the atmosphere. I enjoy breathing it. I'm thankful that it shields me from most of the UV radiation from the Sun and other things in the cosmos. And it does a heck of a job moderating the planet's surface temperature. But as a photographer using a high magnification lens, I'm not a fan of the atmosphere.
 Shadows highlighting the craters on the Moon.
There are two things about the atmosphere that are bad for photographers with a telephoto lens. The first bad thing is that particles like smog, fog, smoke, dust, pollution, water vapor and lots of other things tend to become suspended in it. These particles make the atmosphere less transparent. When particles are suspended in the atmosphere between you and the Moon, the atmosphere will cloud your view, resulting in a low contrast and potentially dim photograph or video.
The second bad thing about the atmosphere is that heat waves move through it. That's bad because heat weaves bend light. If the light from the Moon is being bent as it travels through the atmosphere on its way to your camera's lens, then photographs will look blurry and video will look wavy.
 An example of atmospheric distortion due to heat waves.
There are a couple of things that we can do to minimize the effect of the atmosphere. One thing is to schedule our photo shoot for a time when there aren't as many particles in the atmosphere and the level of heat waves moving through it are at a minimum. Luckily for Moon photographers, we can often find these conditions in the middle of the night. Actually, just before or after dawn tend to be the best times.
The other thing we can do to minimize atmosphere distortion is to schedule our photo shoot when it's colder, because cold air means less heat waves. The coldest time of the day in many locations is around dawn, so this would be a good time for a photo shoot if the Moon will be in the sky at that time. Better yet, we could schedule our photo shoot for dawn in the winter! But be sure to bundle up and fill a thermos with something hot because that could be a really, really cold photo shoot!
 Look through less atmosphere for better pictures.
Photographing the Moon when it is high in the sky will also help to minimize the effects of the atmosphere on our pictures and videos. That's because when the line of sight between your camera and the Moon cuts through the atmosphere on an angle, you'll be looking through more of it. You'll be looking through the least amount of atmosphere when the Moon is directly overhead. The graphic above illustrates this.
Tip #5: Beware the Shake
When enough of the Moon is visible, it's pretty bright in the night sky. So when we're zoomed in close enough, shutter speeds should not be the cause of any camera shake. But at the high focal lengths that we're talking about in this article, even the slightest camera movement can result in a blurry picture. We can minimize camera shake by using a tripod to take close-up pictures and video of the Moon.
I also recommend using your camera's shutter timer so that you're not touching the camera when you take a picture or record a video. A longer countdown time is better. My camera offers a countdown of either three seconds or ten seconds and I usually go with ten seconds. This gives the camera plenty of time to settle down after you press the shutter button.
 The Copernicus (left) and Tycho (right) craters.
There is one drawback to using the shutter timer. You don't notice it with the naked eye, but the Moon is slowly moving across the night sky. But when you're zoomed in close to the Moon with a long lens, the Moon will move surprisingly fast across the camera's viewscreen. The solution is to press the shutter button before the Moon is where you want it to be in your picture or video so that it moves into position just as the shutter timer count down is complete. That takes a little practice, but you'll get the hang of it.
 The Nikon ML-L7 remote shutter trigger.
Tip #6: Less Focusing is Better
What do the Moon and a colorful tropical bird have in common? Nothing! The Moon consists of three colors: light grey, medium grey and dark grey :) This lack of color diversity can result in an image with an extremely low contrast. That's bad for photographers because the autofocus systems on many cameras require a reasonable amount of contrast in a scene to work properly. Have you ever tried to use autofocus while your camera is pointed at a white wall with no features? Well if you haven't, then I can tell you that you will not like the results :)
 The Mare Crisium plains using some in-camera digital zoom.
It can be really frustrating when the moon moves into the frame, you press the shutter button at the exact right millisecond and your camera doesn't get a focus lock. I hate when that happens! Or while you're recording video of the moon, the camera autofocus system loses focus and starts hunting for focus! I hate when that happens too!
 An area of craters, mountains and plains on the Moon.
So can do we do? We can take advantage of the fact that during the course of a normal photo shoot of the Moon, it's not going to get noticeably closer or farther away from the camera. So you can use the camera's autofocus system to get a good sharp view, switch to manual focus, and then take as many pictures or videos as you want at that focal length without worrying about focusing.
Another option when recording video is to use "Single Focus" autofocus. If your camera has this function then it will focus on the Moon once when video recording starts and then turn off autofocusing while continuing to record the video.
The Moon Zoom Video
I hope that some of these tips will help you to capture that perfect photograph or video of the Moon that you have in mind. To see some of these tips in action, check-out this video I made of the Moon. It shows photographs and video clips at different zoom levels from a focal length of 24mm to the digital equivalent of 12,000mm! That's a lot of millimeters!

Thanks for reading this article and watching the video! If you enjoyed it then you might want to check out some of my other articles and videos below. Or you can browse through all of my articles.

Other Articles You Might Like
- Reducing Camera Shake - Tripod Legs
- An Introduction to Camera Shake
- So, You Want to Buy a P1000?
- Zoom: Buildings In the Grand Canyon
- Zooming in on Dragonflies
- Los Angeles Buildings Super Zoom
- Nikon P1000 Phoenix 12000mm Digital Zoom
- Nikon P1000 Tall Carnival Ride Zoom
- Goodyear Blimp with the Nikon P1000
- Los Angeles Street Super Zoom
- Close-up to the Hollywood Sign with the Nikon P1000 Superzoom Camera
- Nikon COOLPIX P1000 and the Xcelerator Roller Coaster Tower
- Zooming in on the Stratosphere Tower
- 50X Zooming for Photos with the FinePix S9400W
- FinePix S9400W Basic 50X Video Zooming
 John Miller
is the owner of "One Lens Two" and "In and Around Phoenix". He is also a co-owner of "Fooding Around Phoenix". John is always looking for collaboration opportunities so contact him using one of the options below!
John Miller
is the owner of "One Lens Two" and "In and Around Phoenix". He is also a co-owner of "Fooding Around Phoenix". John is always looking for collaboration opportunities so contact him using one of the options below! 